
This guide walks you through the workflows you will use on the Henapp Educare platform. Each section explains a task with clear, step-by-step instructions. Use the screenshot space beside each section to paste your own captures (Windows + Shift + S), or ask your IT lead to add them.
1. First-time login

Your school administrator gives you a login URL plus your email/username and a temporary password. The login URL is your school portal address with /login at the end.
Step by step
- Open the login URL in your browser — Chrome, Edge, or any modern browser.
- Type your email address (or your school-assigned username) in the first box.
- Type your password in the second box. Passwords are case-sensitive.
- Tick “Remember me” only on a device you alone use. Leave it unticked on shared or family devices.
- Click “Sign In”.
First thing to do: change your password
- Click your name in the top-right corner of the screen.
- Choose “Profile” (or “My Profile”) from the dropdown menu.
- Find the “Change Password” section.
- Type your current temporary password, then your new password twice.
- Click “Update Password”.
If you forget your password
- Click “Forgot password?” on the login page. If your school has set up email, a reset link is sent to you.
- Or ask your school administrator to reset it — they can set a temporary password for you from the admin panel.
Never share your password. Inventory Managers see real student and school data — treat your login like a bank login. Always sign out on a shared computer.
2. The Inventory dashboard
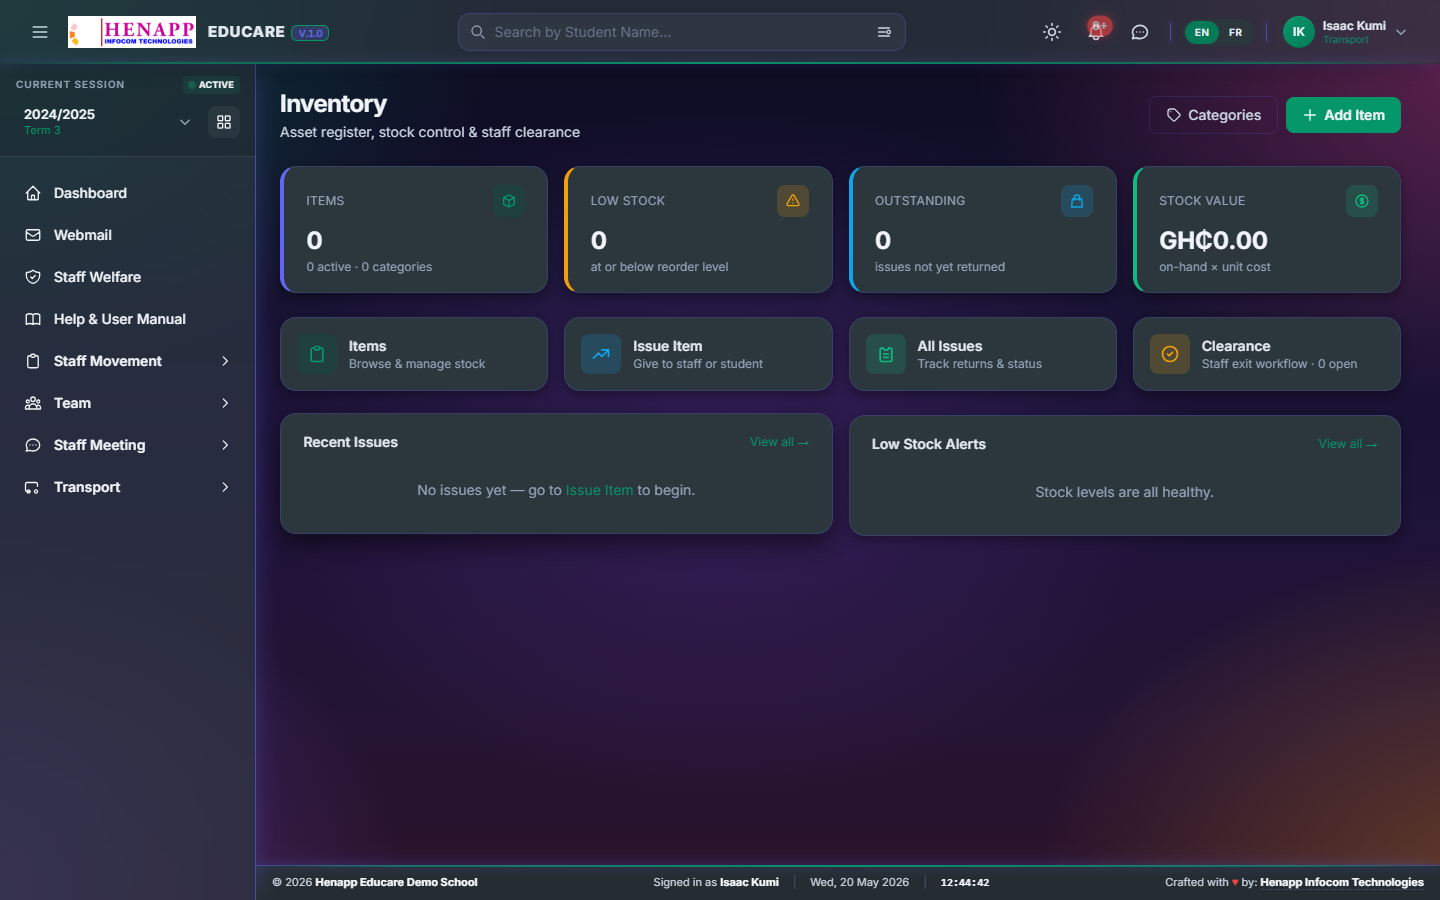
Sidebar → Inventory. Your home base — a single screen showing the state of the storeroom right now.
- Total items in the catalogue (across every category).
- Recent issuances — items just given out (to whom, when, how many).
- Pending clearances — staff who are leaving and still hold school items.
- Low-stock alerts — items below their re-order threshold.
3. Categories
Categories keep the catalogue tidy — Books, Furniture, ICT, Lab Equipment, Sports, etc. Sidebar → Inventory → Categories.
- Click "Add Category" — name it, save.
- You can edit or delete a category at any time. Deleting a category does NOT delete its items — they become "Uncategorised" until you reassign them.
4. Items

The catalogue. One row per asset type (e.g. "Plastic chair", "Dell Latitude laptop", "Football"). Sidebar → Inventory → Items.
Adding an item
- Click "Add Item".
- Fill in: name, category, unit (each / pack / kg), opening stock, re-order threshold (you get a low-stock alert at this point).
- Optional: tag a default location, an asset tag prefix, a photo.
- Save.
Updating stock
- Open the item → "Adjust Stock".
- Pick the type — Receipt (delivery from supplier), Audit Correction, Wastage.
- Enter the quantity and a note (where it came from, why the correction).
- Save. The balance updates and the change is logged in the item's history.
5. Issuing items
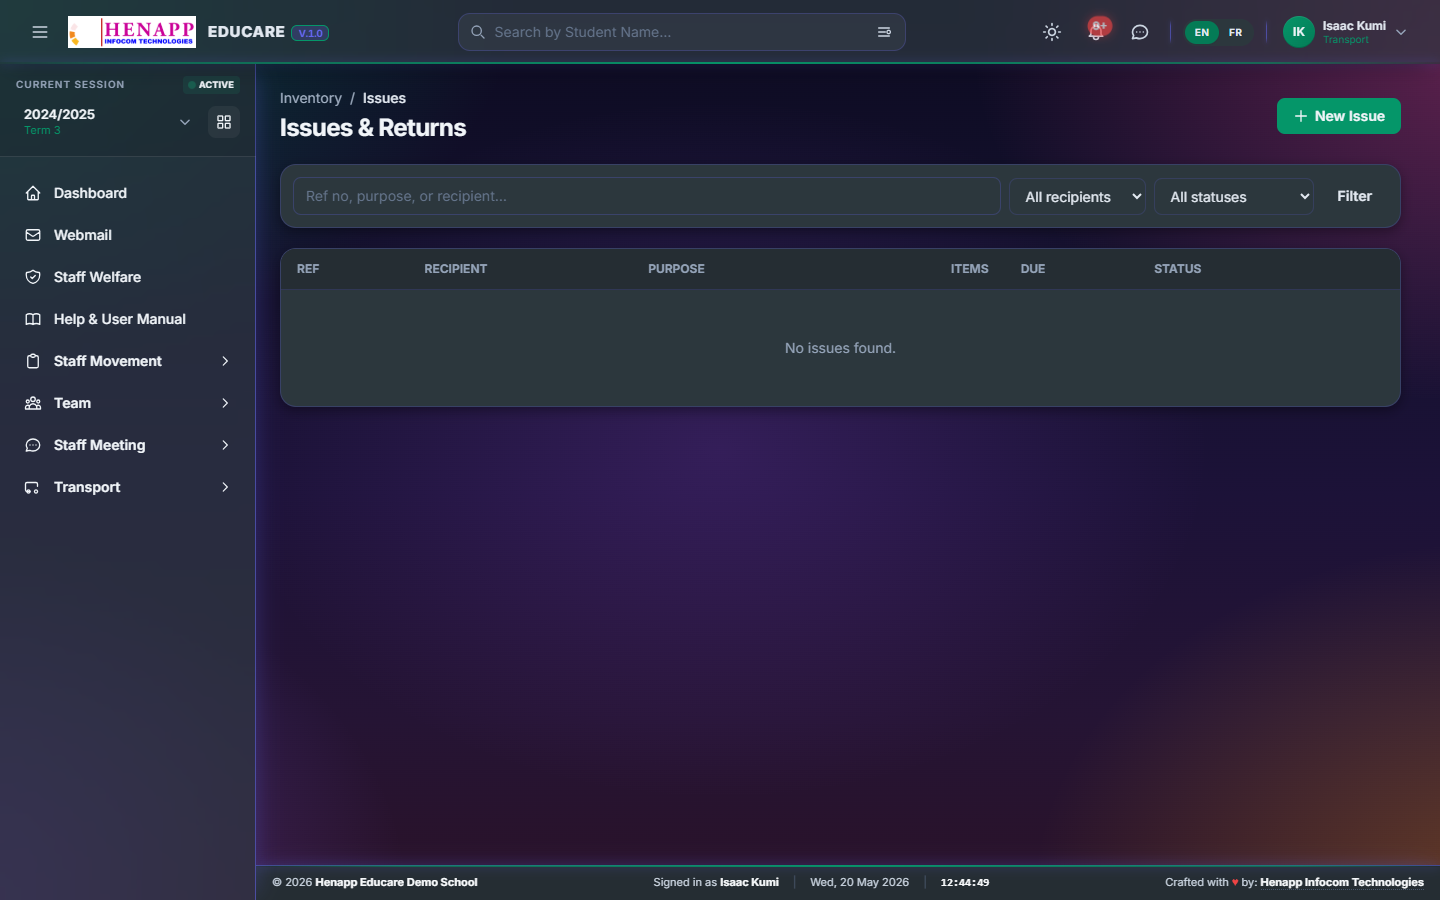
Issuing means handing items out — to staff (a laptop, a desk fan), to students (lab coats, sports kit), to departments. Sidebar → Inventory → Issuances → "New Issuance".
- Pick the recipient — staff or student. The search box lists both.
- Add line items — pick the item from your catalogue, set quantity. Stock is decremented automatically.
- Set an expected return date if it is a loan (laptop, key) or leave blank if it is a permanent issue (e.g. lab coat).
- Save & print issuance slip. The recipient signs the slip.
6. Returns
When a loaned item comes back. Open the original issuance → "Record Return".
- Tick the items being returned, set the actual quantity (sometimes people return only some of what they borrowed).
- Pick the condition — Good / Damaged / Lost. Damaged and Lost items count against the recipient on their clearance form.
- Save. Stock goes back up for items returned in good condition.
7. Staff clearance workflow

When a staff member is leaving the school (resignation, end of contract, retirement), the admin starts a clearance. You verify that they have returned everything assigned to them. Sidebar → Inventory → Clearances.
- Open the pending clearance for that staff member.
- The system lists every item still showing as issued to them.
- For each item, mark Returned (in good condition), Damaged, or Lost (with the cost to be deducted from their final salary).
- Save & sign. The admin sees your sign-off and can release the staff member's final pay slip.
Do not sign off until every item is physically in your storeroom or formally written off. Once you sign, the admin releases pay; you cannot un-sign.
8. Reports
Sidebar → Inventory → Reports.
- Stock balance — what is on the shelves right now, per category.
- Issuance history — who has what, on which date, for how long.
- Low-stock report — items at or below their re-order threshold.
- Lost & damaged — for the bursar's records.
- Every report exports to PDF (A4) or Excel.
9. Common issues
Stock and shelf don't match
Run an audit. Open the item → Adjust Stock → Audit Correction → enter the actual count and a note ("physical count on <date>"). The history records the variance for the bursar.
A staff member's clearance says they have an item they don't
Open the original issuance for that item. Either the item was returned earlier without being recorded (record the return now), or it is genuinely missing (mark Lost in the clearance).
I cannot see Inventory in the sidebar
Your account does not have the inventory-manager role. Ask the admin to add it under User Management → Roles.
Email support@henapp.org or visit www.henapp.org. For day-to-day questions, your school administrator is your first point of contact.
10. Switching languages (English / French)
The platform supports more than one language. Your school chooses which languages are enabled — usually English and French.
- Look at the header bar at the top of the screen for a small language toggle (e.g. “EN” / “FR”).
- Click the language code you want. The page reloads in that language.
- Your choice is remembered for the rest of your session.