
This guide walks you through the workflows you will use on the Henapp Educare platform. Each section explains a task with clear, step-by-step instructions. Use the screenshot space beside each section to paste your own captures (Windows + Shift + S), or ask your IT lead to add them.
1. About this guide
You have been given the Local Manager role. You see every dashboard, every module, and every report that the Administrator sees — but you cannot create, change, or delete anything. Your job is to monitor, search, and export.
Almost every page in this manual lives in the Administrator User Guide. Keep that guide close by — wherever it says "click Save" or "click Delete", those buttons are hidden or disabled for you. Everything else applies.
Senior staff members — head teachers, directors, school owners, governing board members — who need full visibility into the running of the school WITHOUT the ability to accidentally change academic records, finance entries, or system settings. Read-only by design.
2. What you can see
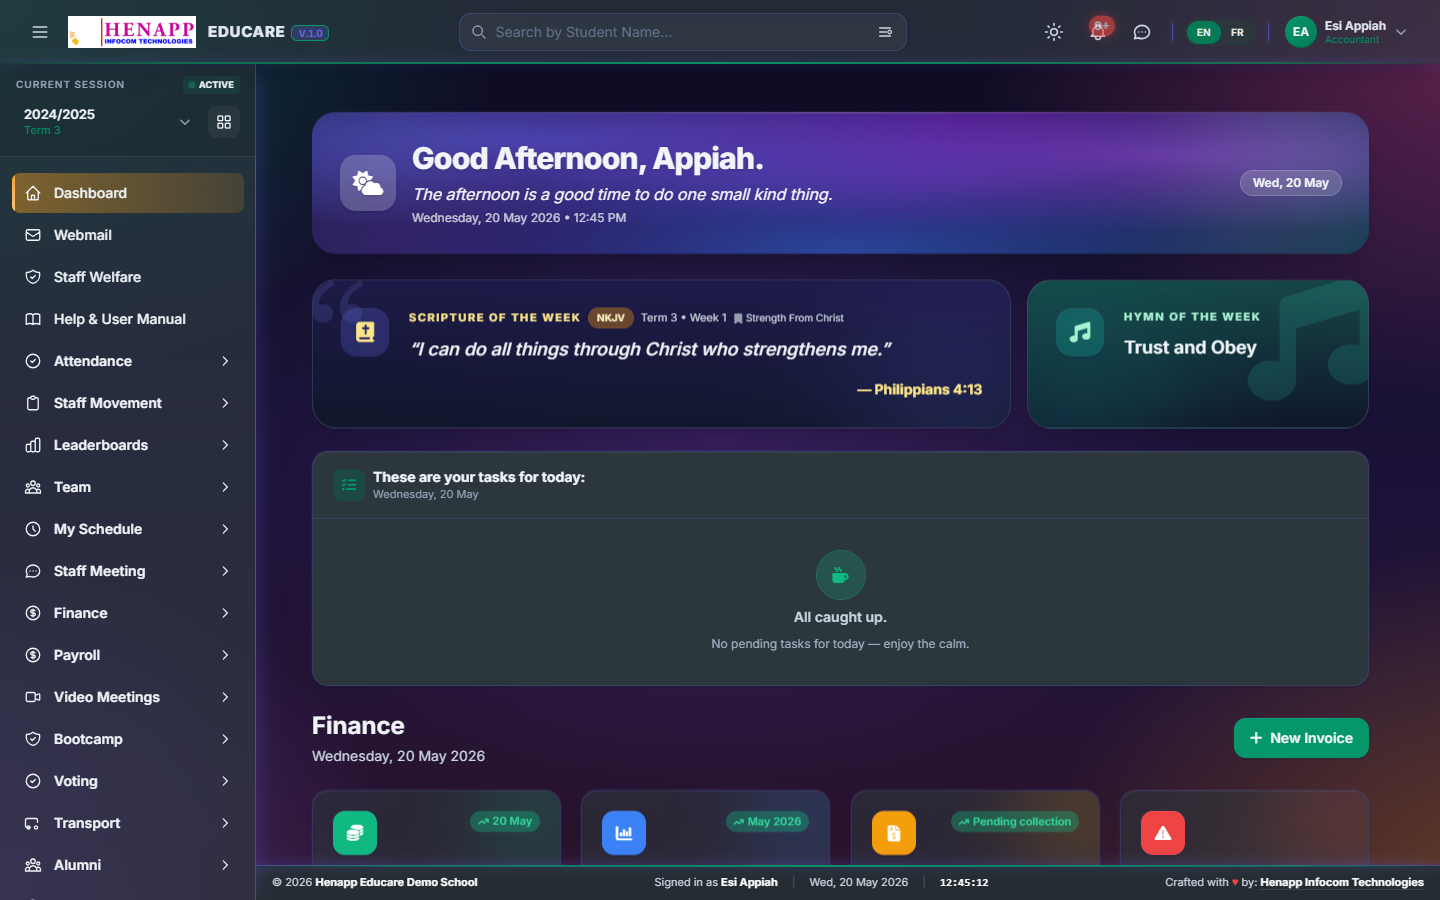
- Every dashboard the admin sees — student counts, today's attendance, fees collected, outstanding balances, communication volume.
- Every academic record — classes, subjects, scoresheets, lesson plans, attendance registers.
- Every finance record — invoices, payments, payroll, expense ledgers, bank reconciliation.
- Every module — Inventory, Library, Transport, Shop, Communication, Reports & Analytics.
- Every report — built-in dashboards, the Reports & Analytics suite, custom queries.
3. What you cannot do
- Create or edit any record (student, staff, class, subject, scoresheet, invoice, payslip).
- Delete anything.
- Change system settings, branding, school profile, fee structure, grading scale.
- Add or remove users, change passwords, assign roles.
- Send messages or post announcements on behalf of the school.
- Impersonate ("act as") another user.
If you try, the page either hides the action button or shows a polite "This action is not available for your role" message. Nothing happens to the data.
4. Read-only mode in practice
- Buttons like Save, Submit, Delete, Send, Approve are hidden on every screen.
- Forms still open so you can read what is in them — but typing into them does nothing.
- Search, filter, sort, and pagination all work normally — that's how you find what you need.
- Date pickers, drop-downs, and tabs all work — they navigate the data without changing it.
5. Reports and exports

This is where you do most of your day-to-day work.
- Reports & Analytics — full access to every built-in report.
- Per-module reports — Academic, Finance, Attendance, Inventory, Library, Transport.
- Export — every report exports to PDF (A4, with school letterhead) or Excel for offline review.
- Date ranges, term filters, class filters all work normally on your account.
6. The staff meeting board
One exception to read-only: you CAN post on the internal staff meeting board (Communication → Staff Meeting). Use it for follow-up questions, requests for clarification, or minutes-of-meeting notes addressed to the admin or principal.
7. Etiquette
- Spot a wrong record? Don't try to "correct" by finding a writable back-door — there isn't one. Note it down and tell the admin.
- Need a one-off change for a board meeting? Ask the admin; they can make the edit, and you'll see it instantly.
- Treat your account like a guest pass: visibility is wide, but the responsibility for what changes still sits with the admin team.
Email support@henapp.org or visit www.henapp.org. For day-to-day questions, your school administrator is your first point of contact.