
This guide walks you through the workflows you will use on the Henapp Educare platform. Each section explains a task with clear, step-by-step instructions. Use the screenshot space beside each section to paste your own captures (Windows + Shift + S), or ask your IT lead to add them.
1. First-time login
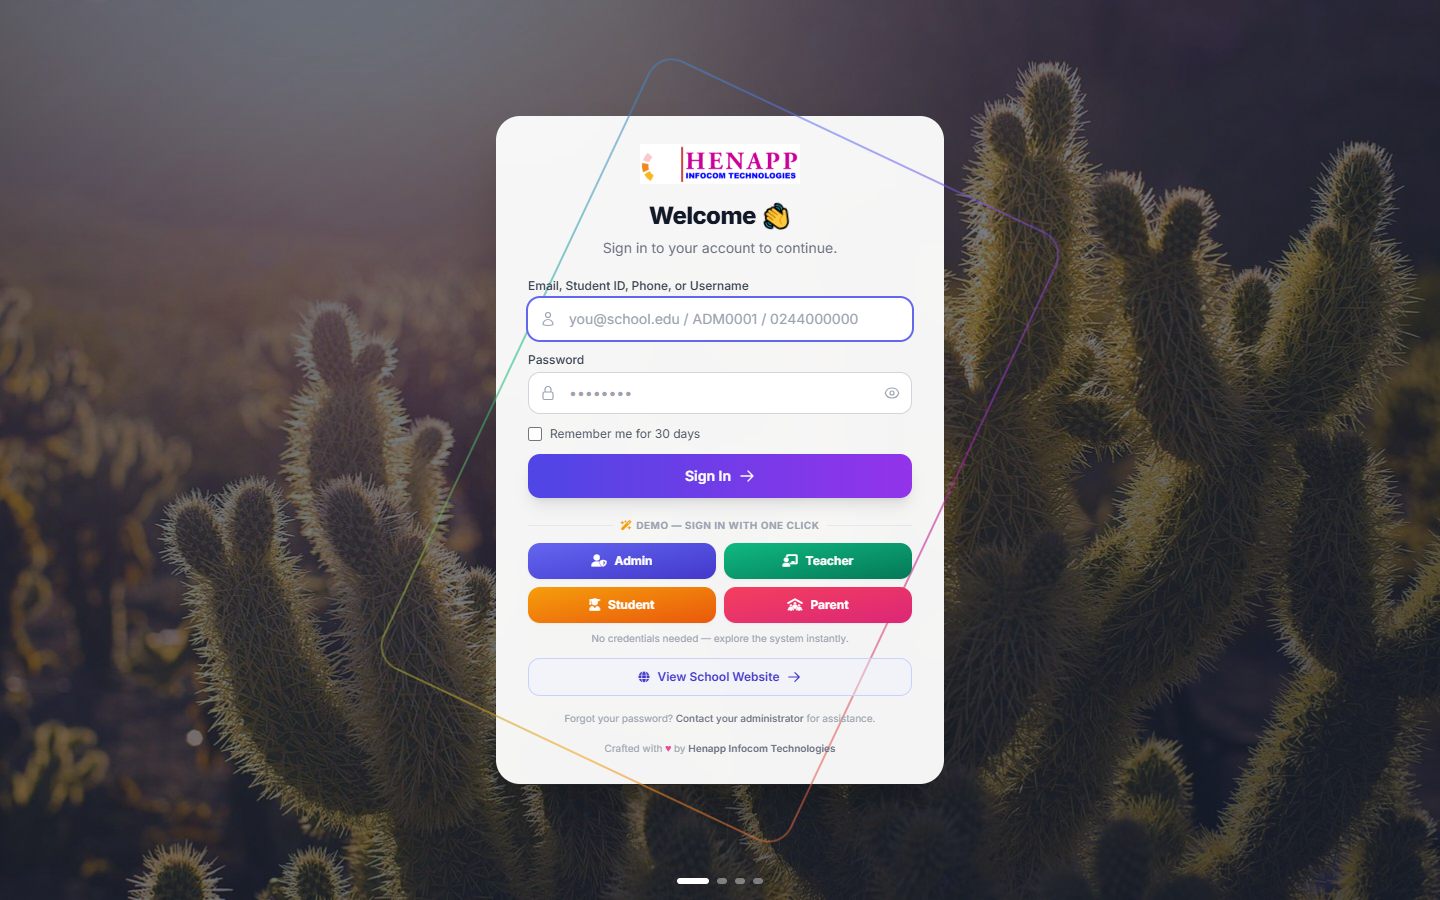
Your school administrator gives you a login URL plus your email/username and a temporary password. The login URL is your school portal address with /login at the end.
Step by step
- Open the login URL in your browser — Chrome, Edge, or any modern browser.
- Type your email address (or your school-assigned username) in the first box.
- Type your password in the second box. Passwords are case-sensitive.
- Tick “Remember me” only on a device you alone use. Leave it unticked on shared or family devices.
- Click “Sign In”.
First thing to do: change your password
- Click your name in the top-right corner of the screen.
- Choose “Profile” (or “My Profile”) from the dropdown menu.
- Find the “Change Password” section.
- Type your current temporary password, then your new password twice.
- Click “Update Password”.
If you forget your password
- Click “Forgot password?” on the login page. If your school has set up email, a reset link is sent to you.
- Or ask your school administrator to reset it — they can set a temporary password for you from the admin panel.
Never share your password. Transport officers see real student and school data — treat your login like a bank login. Always sign out on a shared computer.
2. Your transport dashboard
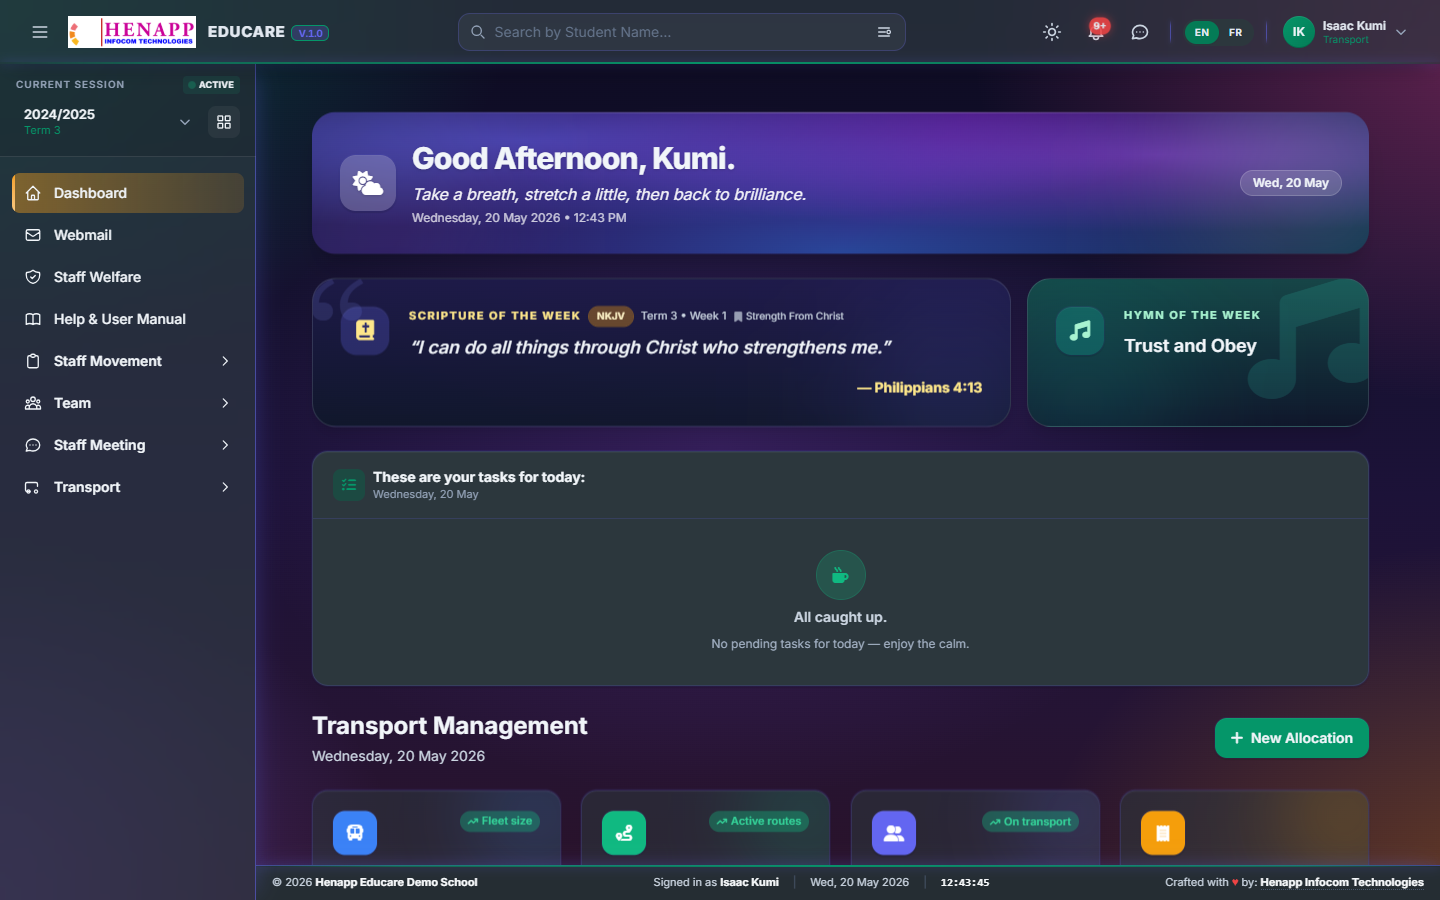
As the transport officer you manage the school’s vehicles, routes, and the daily student pick-up. After login your sidebar focuses on the Transport module and student pick-up.
- Vehicles in service and routes running today.
- Students assigned to transport.
- Today’s pick-up and drop-off status.
3. Vehicles
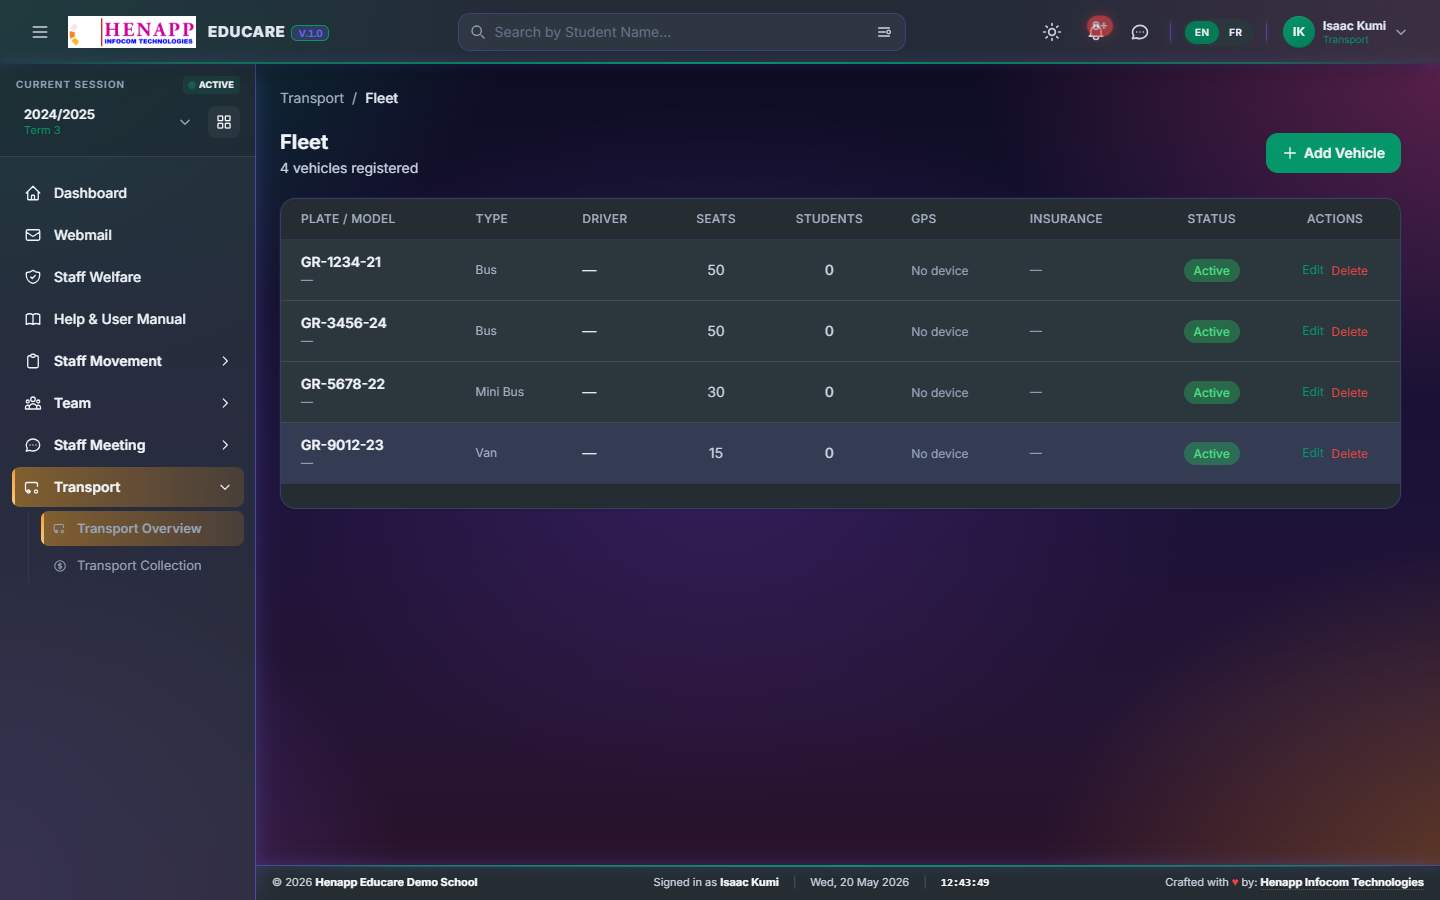
- Sidebar → Transport → Vehicles.
- Add each bus or van — registration number, capacity, and driver.
- Keep each vehicle’s status current (in service or off the road).
- Record the driver and, where used, the bus assistant for each vehicle.
4. Routes and stops
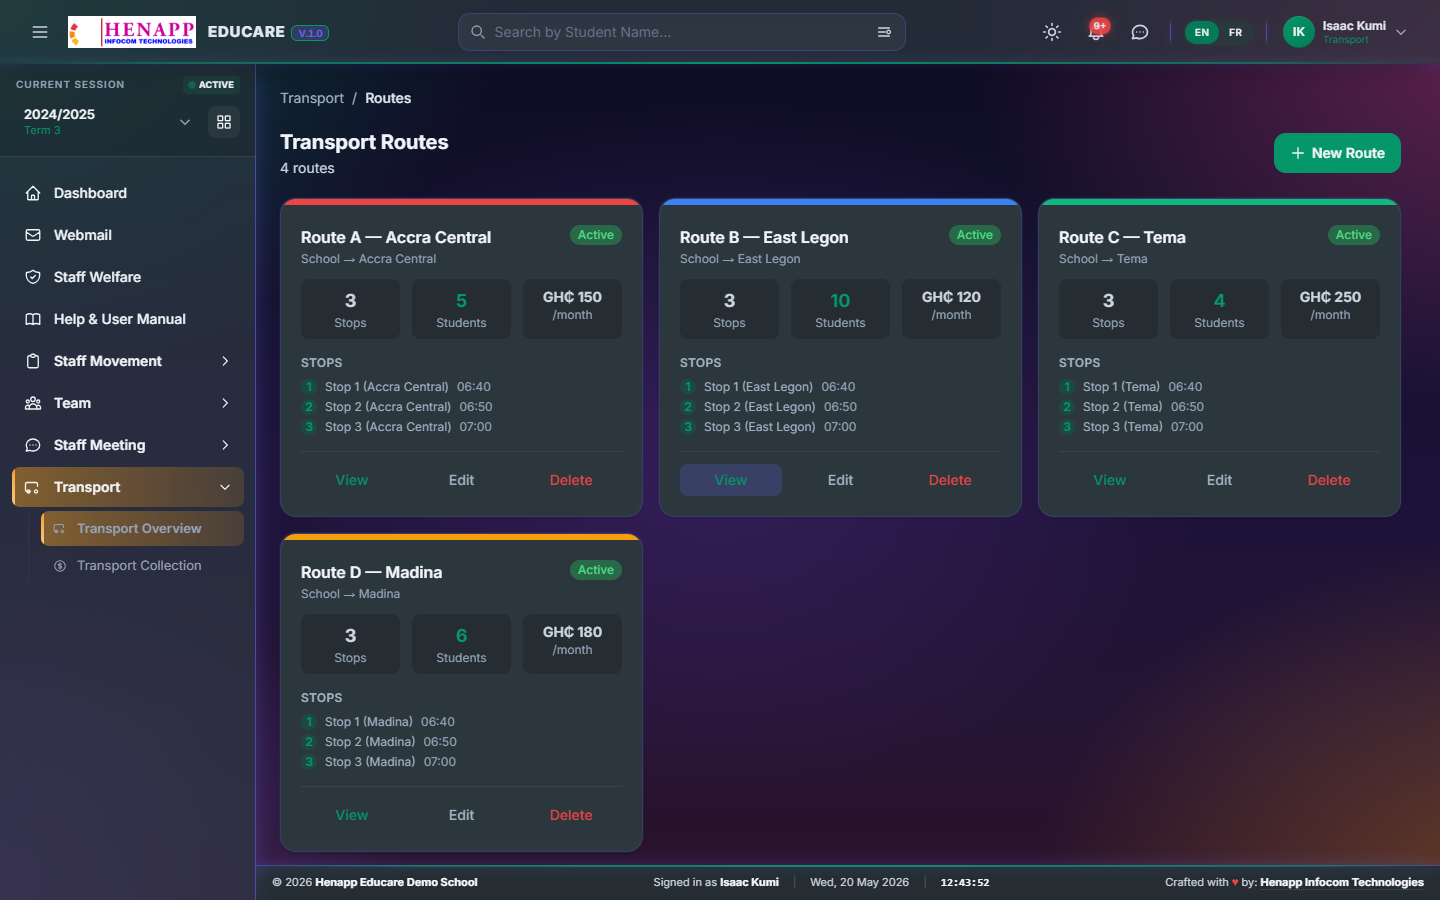
- Sidebar → Transport → Routes.
- Create a route and give it a clear name (e.g. “East Legon — Morning”).
- Add the stops along the route in order, with pick-up times.
- Assign a vehicle to each route.
5. Assigning students to routes
- Sidebar → Transport → Student Allocation.
- Find the student and assign them to a route and a stop.
- A student’s transport allocation also shows on the parent’s “My Children” pages.
- Update the allocation whenever a family moves or changes their arrangement.
6. The student pick-up kiosk
The pick-up kiosk records each student being collected at the end of the day, so the school knows every child left safely.
- Sidebar → Student Pick-up → Kiosk.
- As each student is collected, mark them picked up — by name or by scanning their ID.
- Record who collected them if your school requires it.
- The kiosk is rota-based; staff on the pick-up rota for the day get access to it.
7. Pick-up and drop-off reports
- Sidebar → Student Pick-up → Reports.
- See, per day, which students were picked up and when.
- Spot students still on site who have not been collected.
- Reports export to PDF on A4 with the school letterhead.
8. Staff movement and the gate
- Staff Movement records staff leaving and returning to the school during the day.
- If you are on the gate rota, you record staff movement and monitor time at the gate.
- Approvals and movement reports are handled by admins.
9. Communicating with parents
- Use Announcements to tell transport parents about a delay, a route change, or a closure.
- For a quick message, the Communication module sends SMS to the parents on a chosen route.
- Staff Meeting is the internal noticeboard for staff-to-staff posts.
10. Quick reference card
| I want to… | Go to |
|---|---|
| Add a vehicle | Transport → Vehicles |
| Create a route | Transport → Routes |
| Assign a student to a route | Transport → Student Allocation |
| Record an end-of-day pick-up | Student Pick-up → Kiosk |
| See today’s pick-up status | Student Pick-up → Reports |
| Message transport parents | Communication → Compose |
11. Common issues
I cannot open the pick-up kiosk
Kiosk access is rota-based. Check that you are on the pick-up rota for today — an admin assigns the rota.
A student is missing from a route
They have not been allocated yet. Go to Transport → Student Allocation and assign them to the route and stop.
A parent says their child’s route is wrong
Open the student’s allocation and update the route or stop. The change shows on the parent’s pages immediately.
Email support@henapp.org or visit www.henapp.org. For day-to-day questions, your school administrator is your first point of contact.
12. Switching languages (English / French)
The platform supports more than one language. Your school chooses which languages are enabled — usually English and French.
- Look at the header bar at the top of the screen for a small language toggle (e.g. “EN” / “FR”).
- Click the language code you want. The page reloads in that language.
- Your choice is remembered for the rest of your session.